App Usage
Here’s a short usage guide on the recording app. This uses the iOS version of the app, but it works similiar for Android, Linux, macOS and Windows.
-
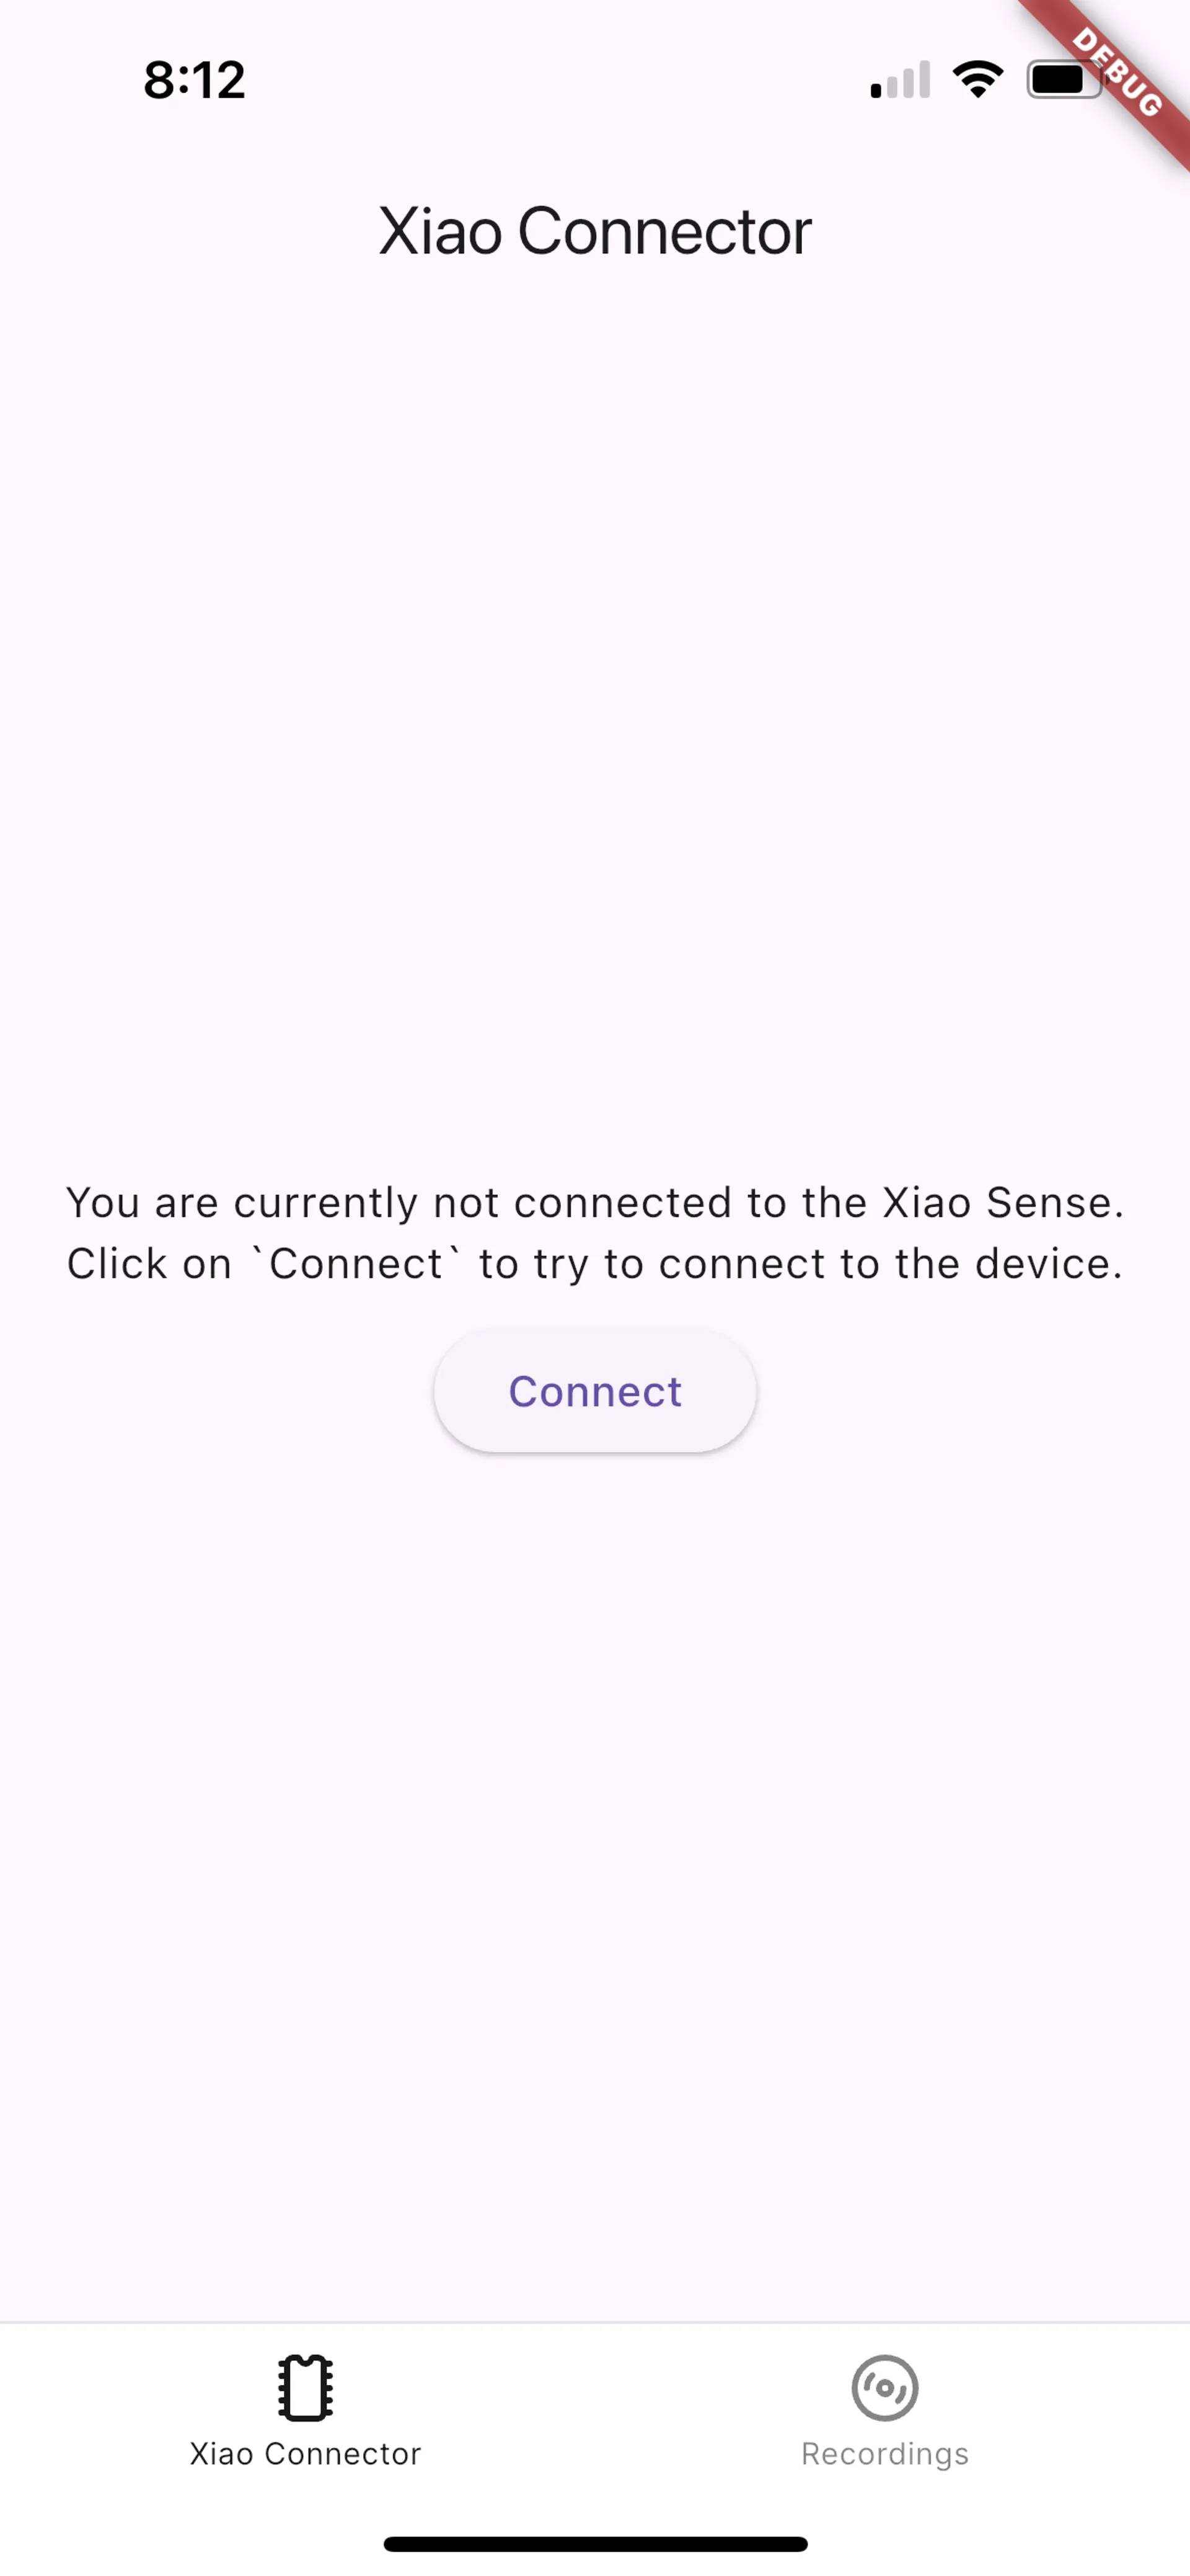
When you open the app you will be greeted with the
Xiao Connectorscreen. Tap onConnectto connect to the microcontroller.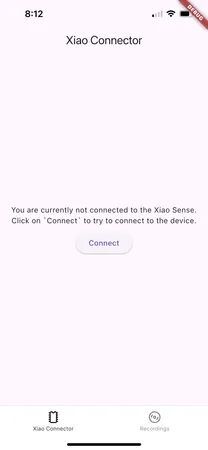
-
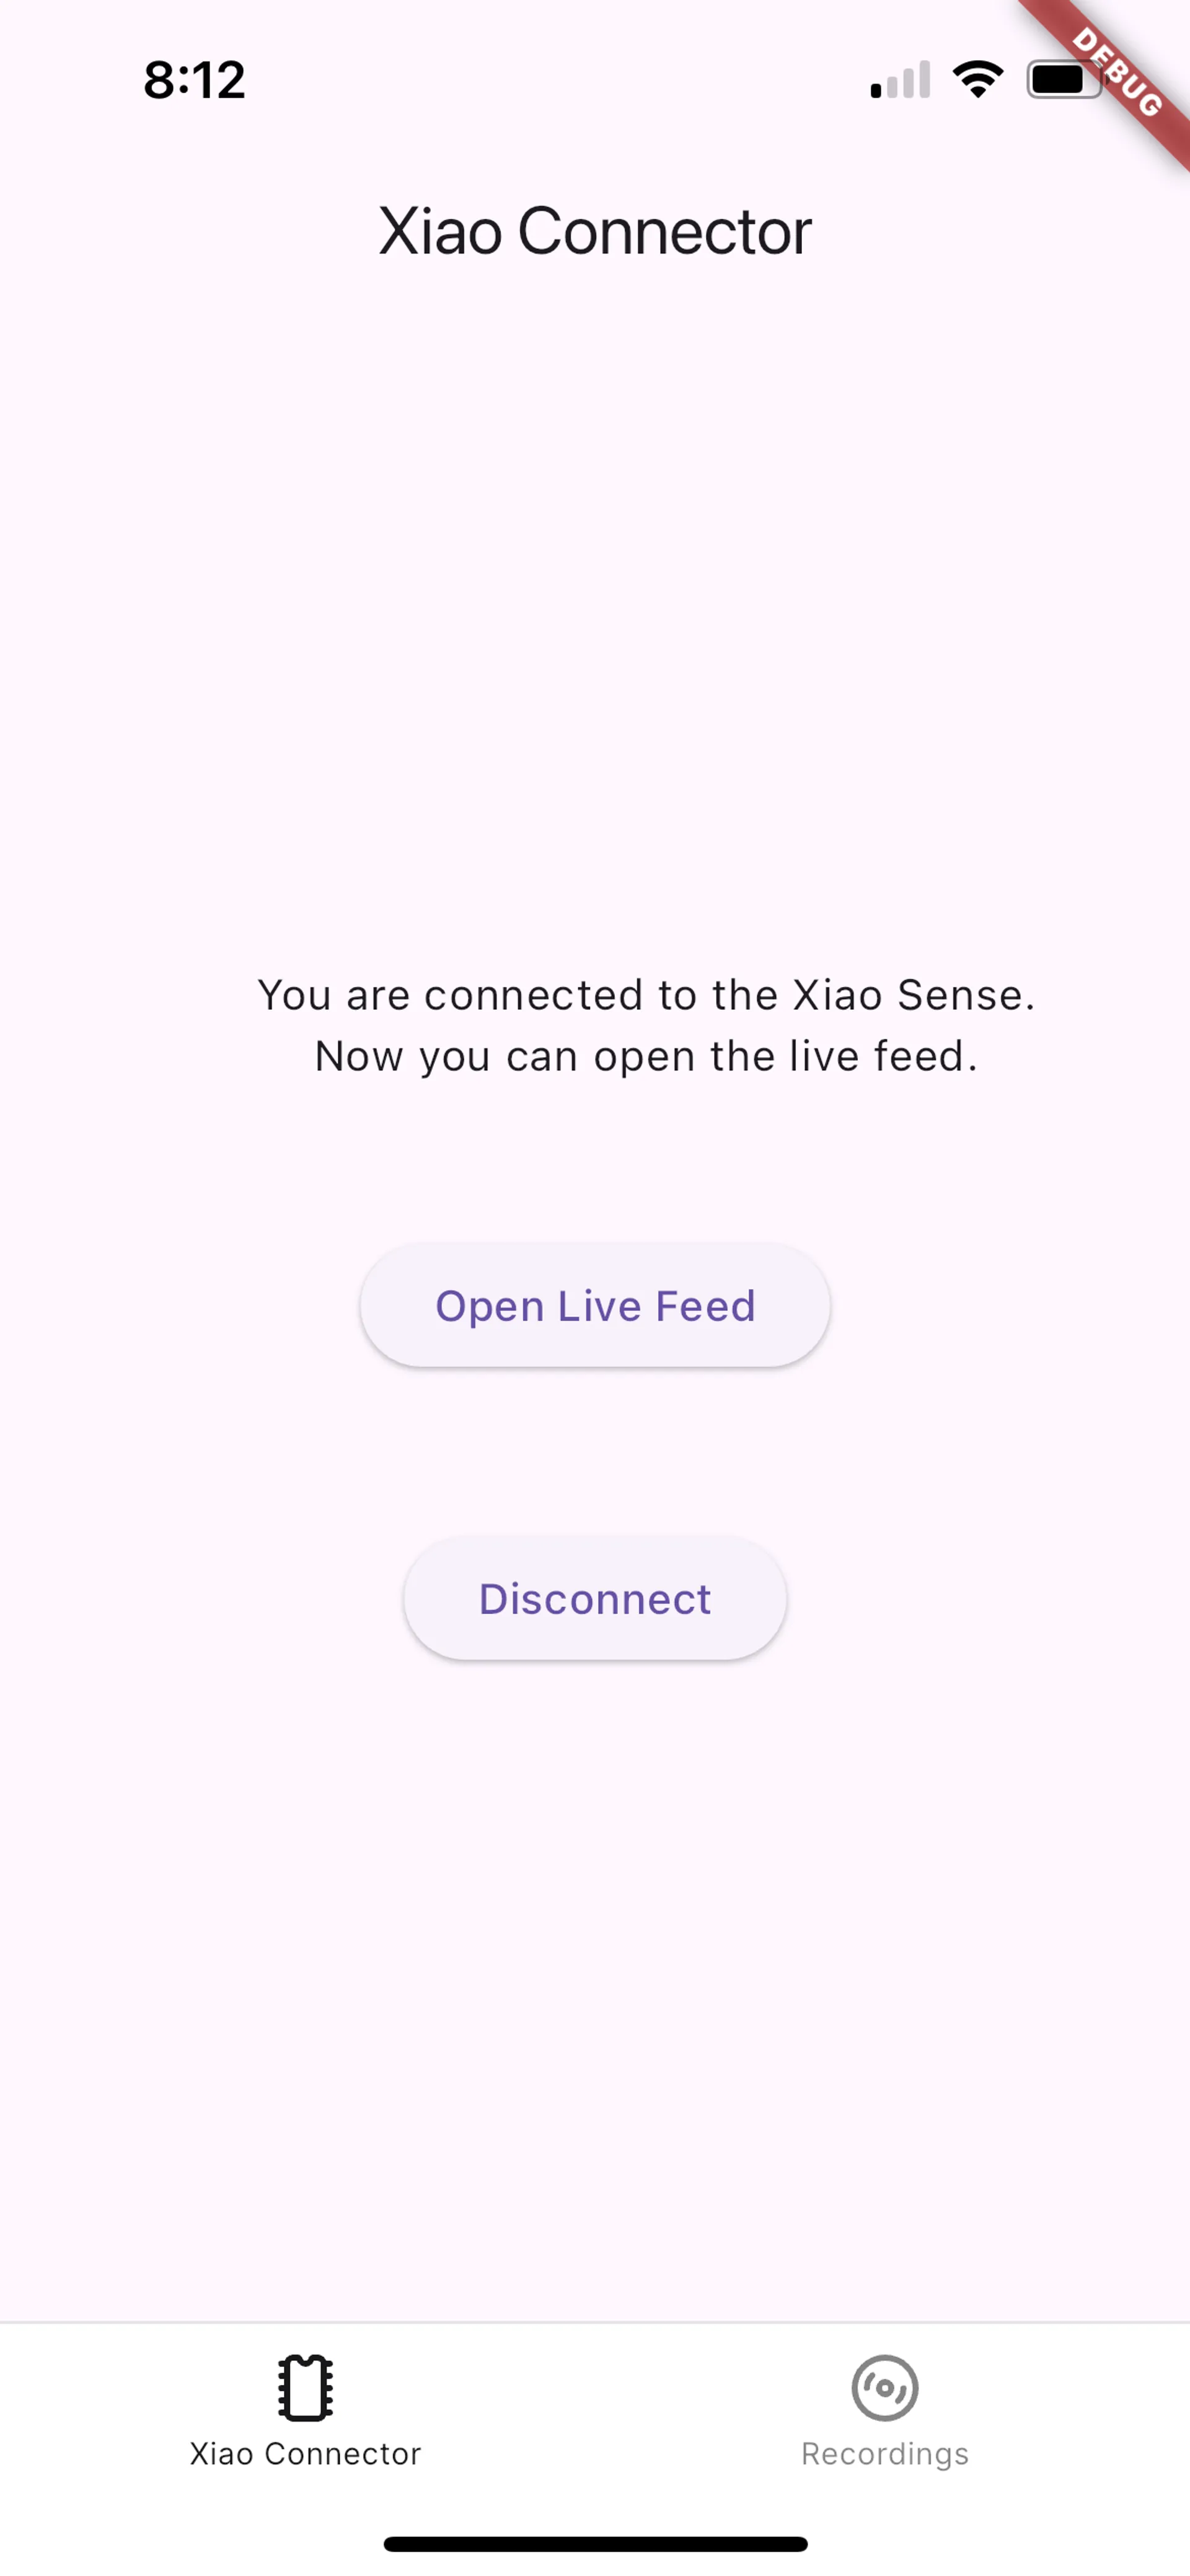
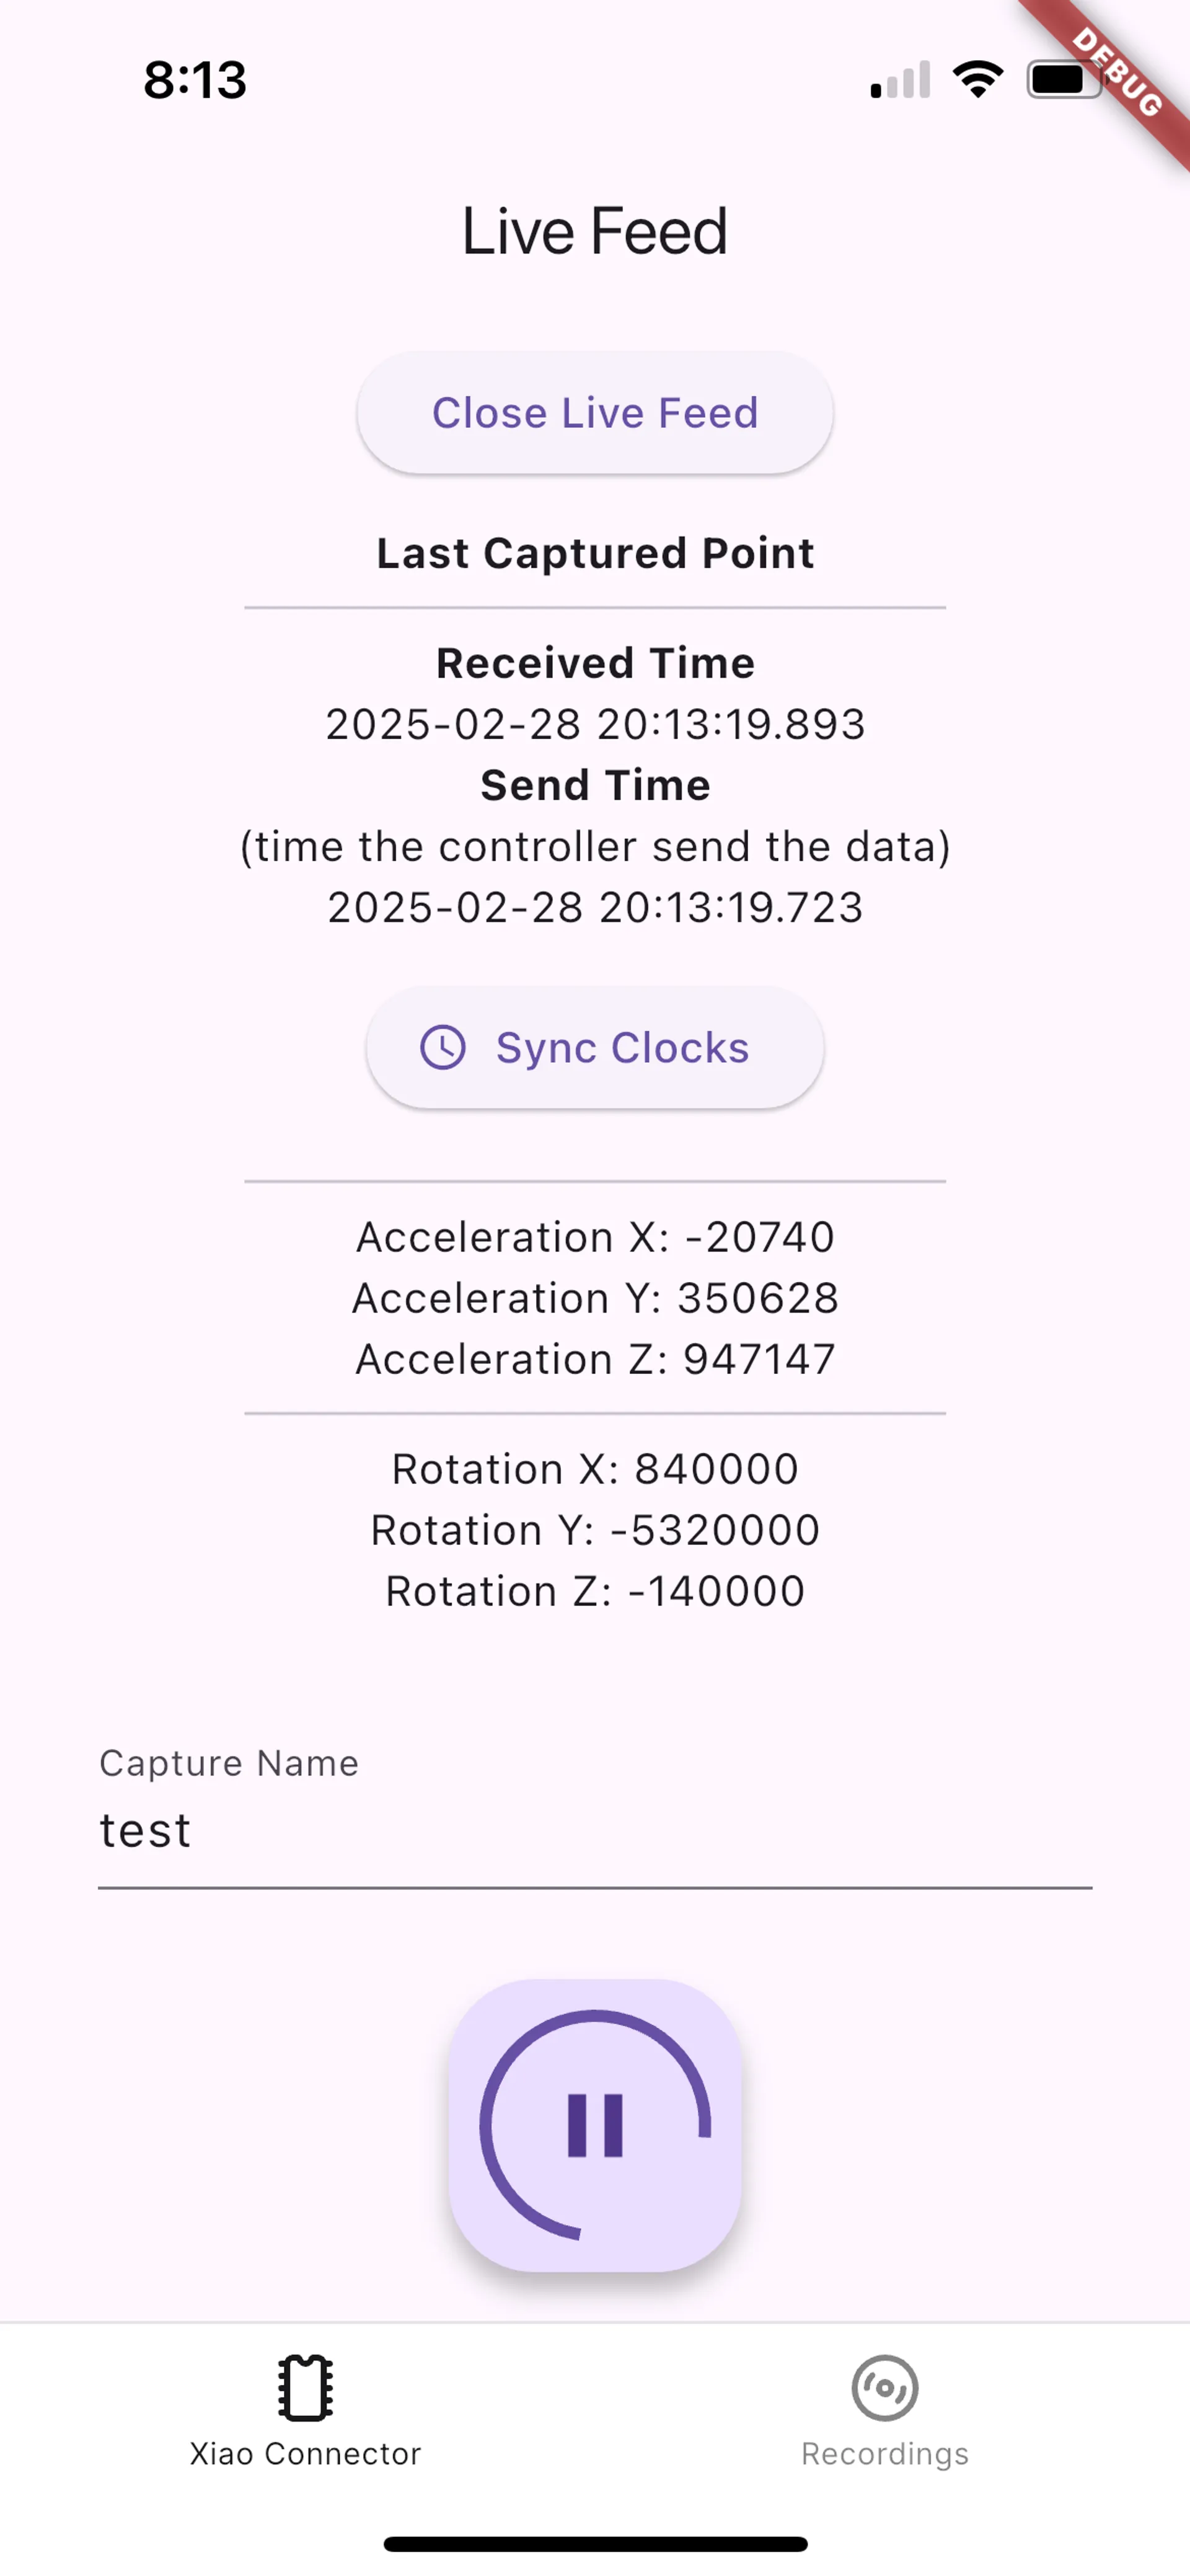
To conserve power, the microcontroller enters a low-power mode upon Bluetooth connection, preventing automatic acceleration data recording. To access a live feed, manually activate it by tapping on
Open Live Feed.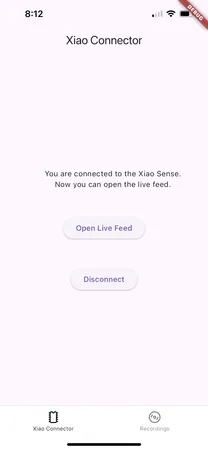
-
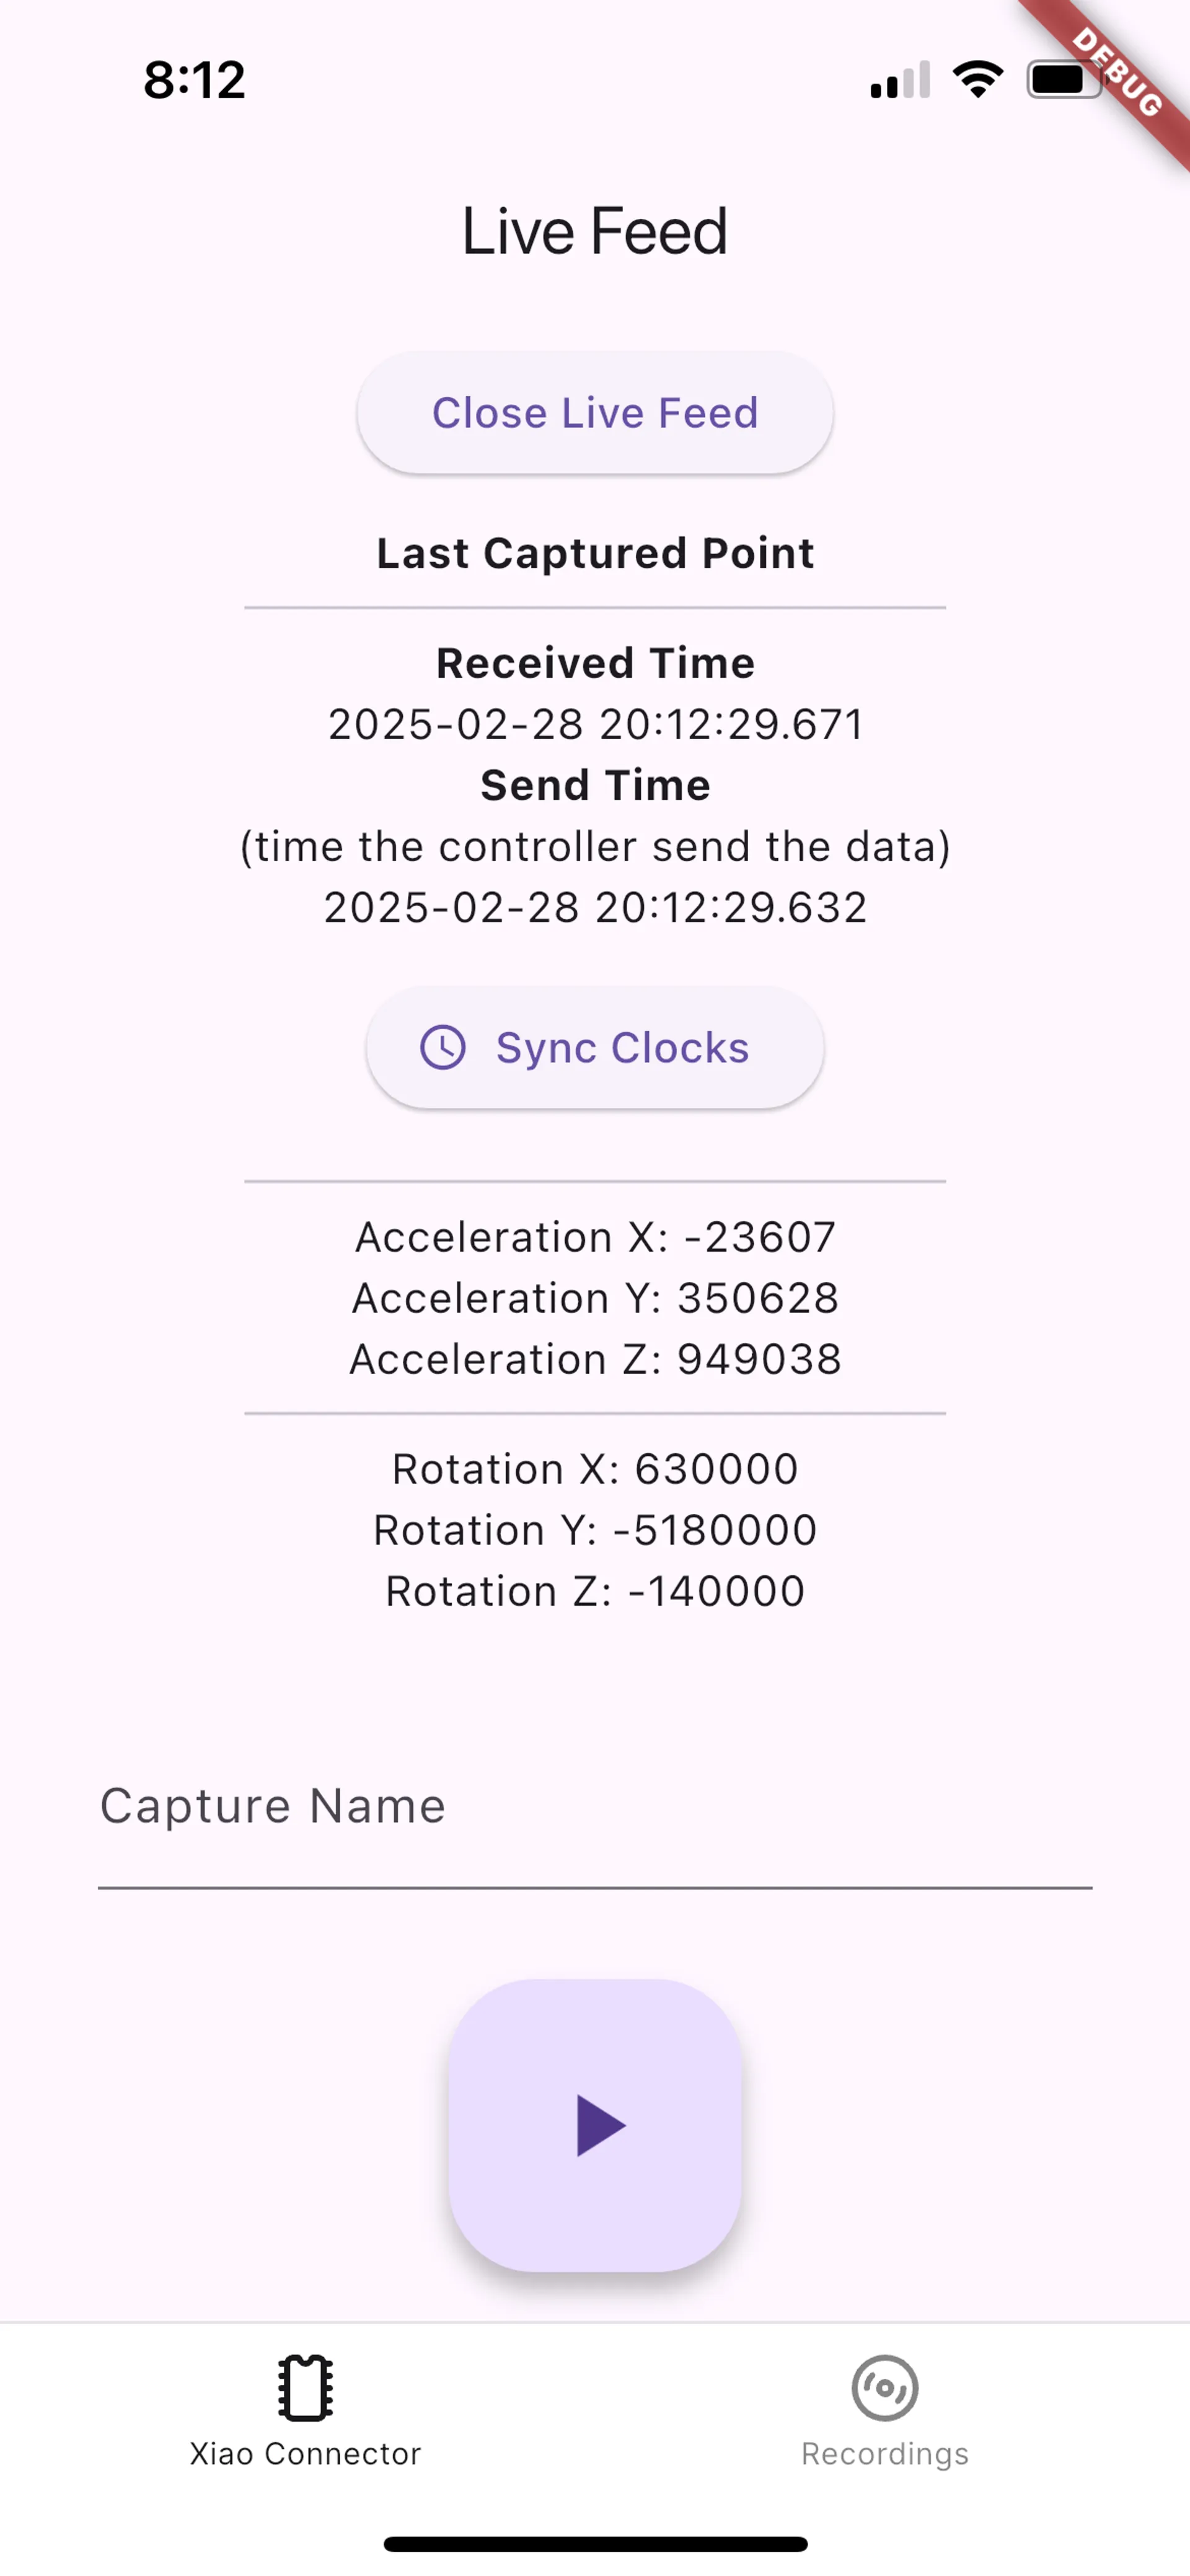
This is what the feed looks like when you are connected.
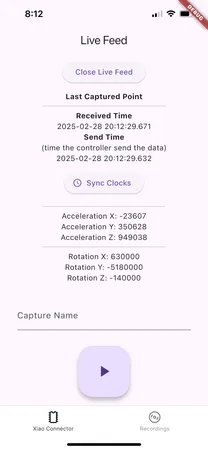
A tap on
Sync Clockscan be used to manually sync the clocks between the recording device and the microcontroller.To start recording, enter a name and then tap on the start button at the bottom of the screen.
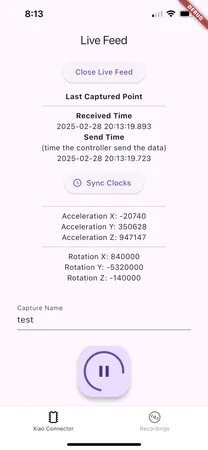
To stop the recording, tap on the button at the bottom of the screen again.
-
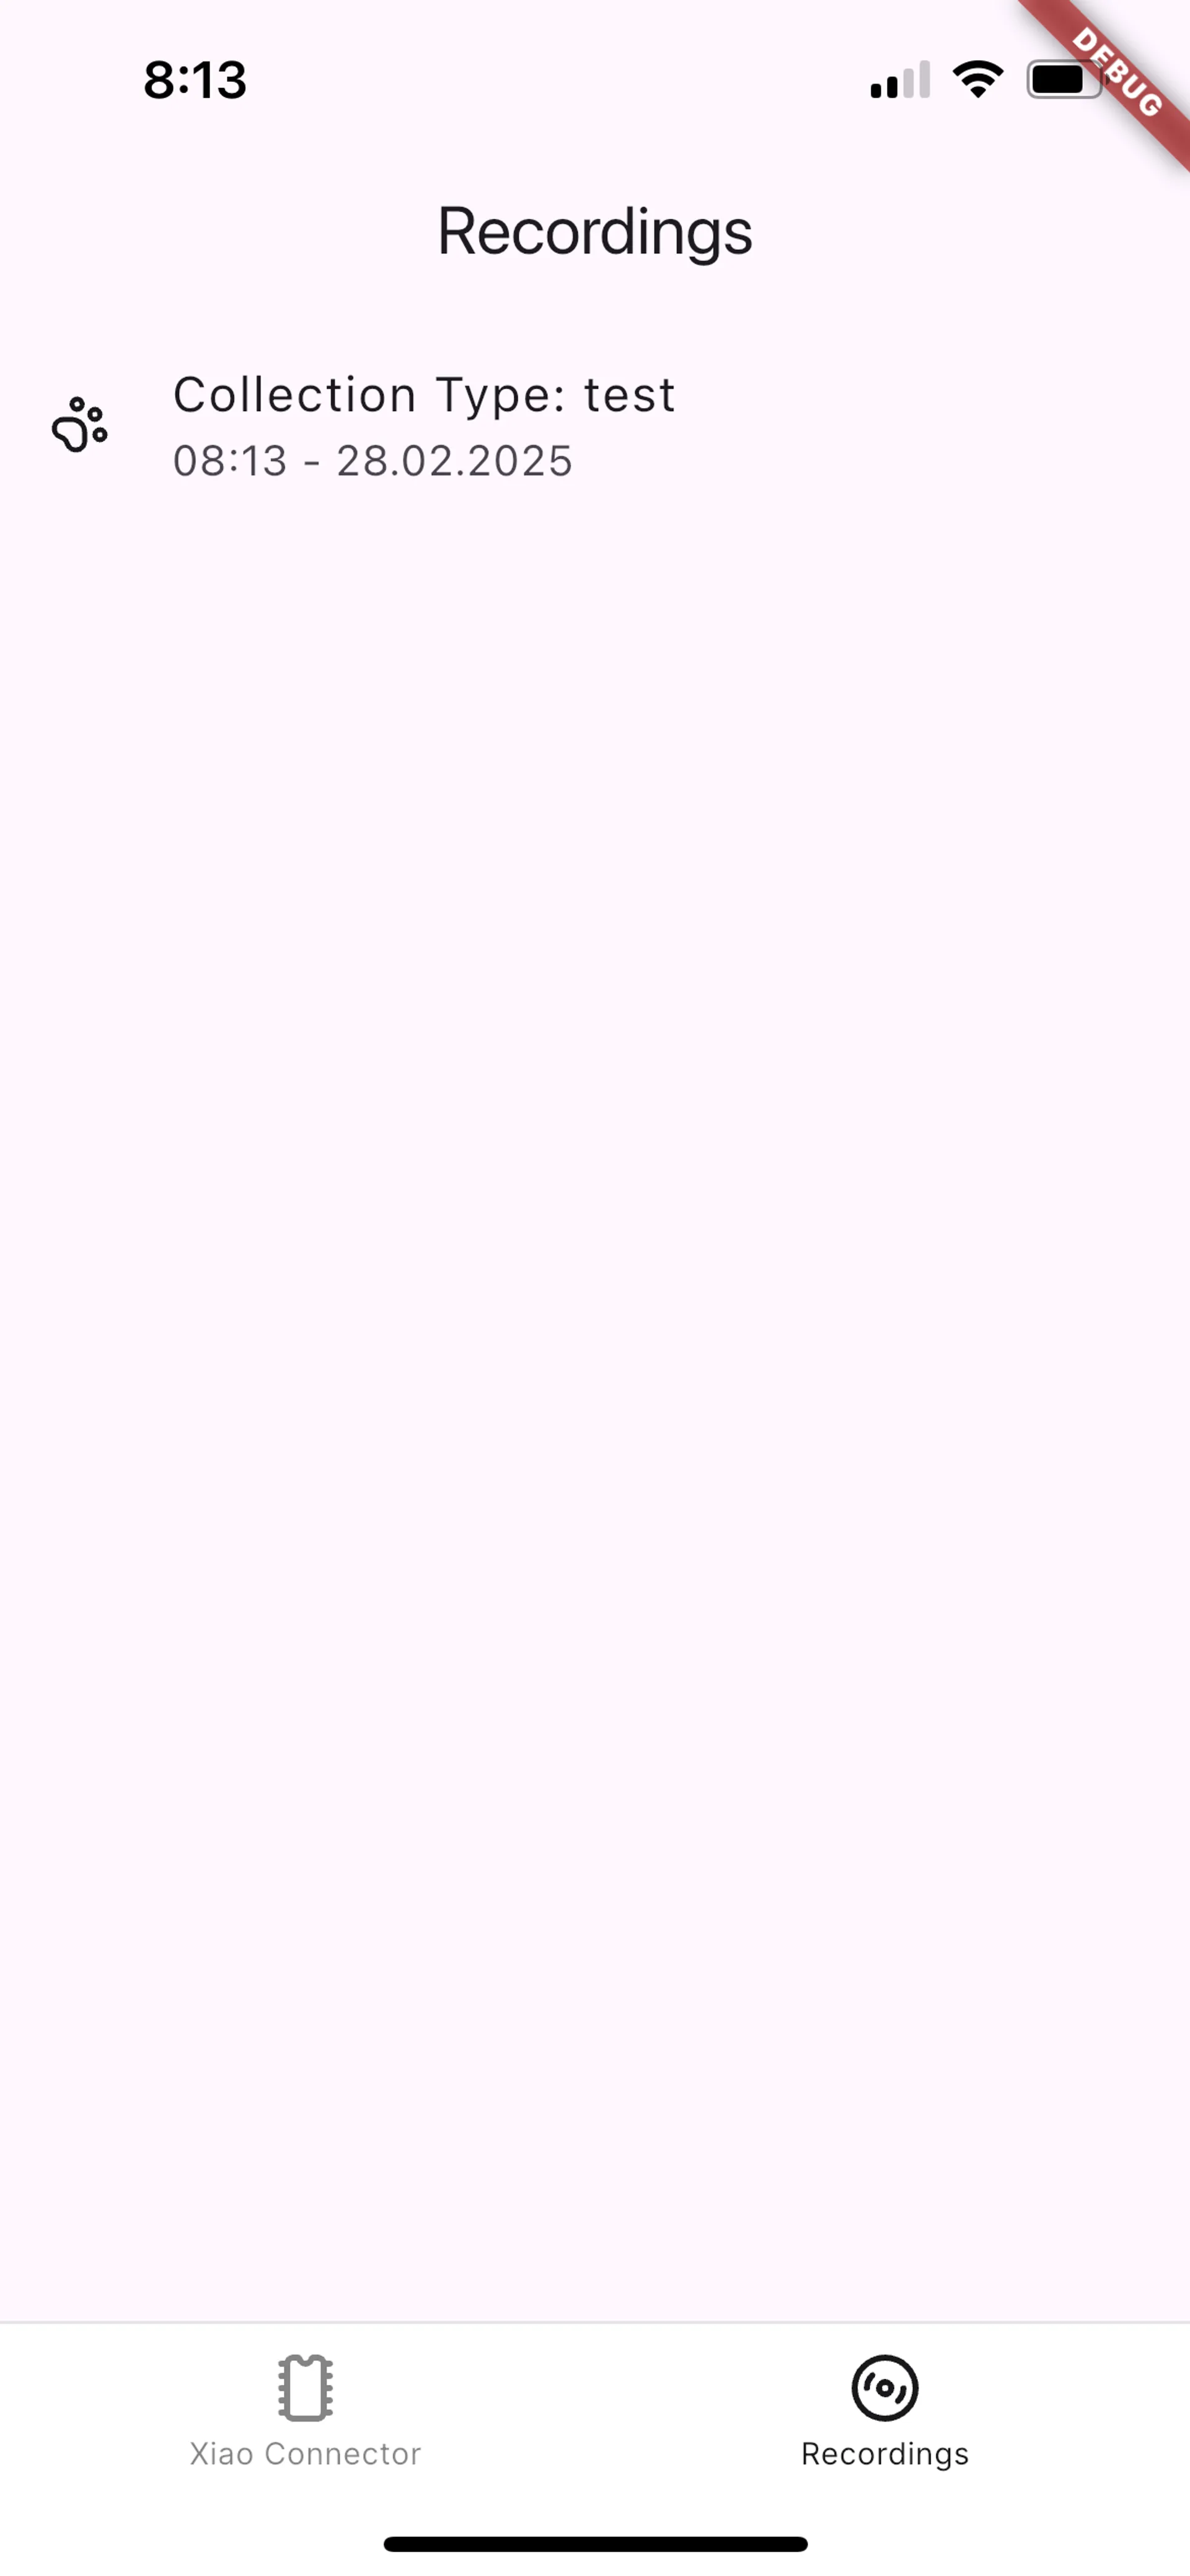
Now you can switch to the
Recordingsscreen by tapping on theRecordingsicon in the navbar. You’ll see your newly created recording that was stored on your device.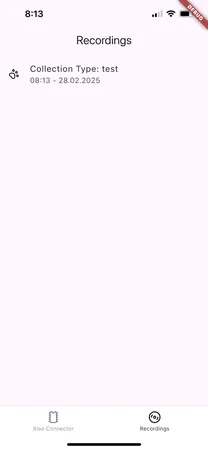
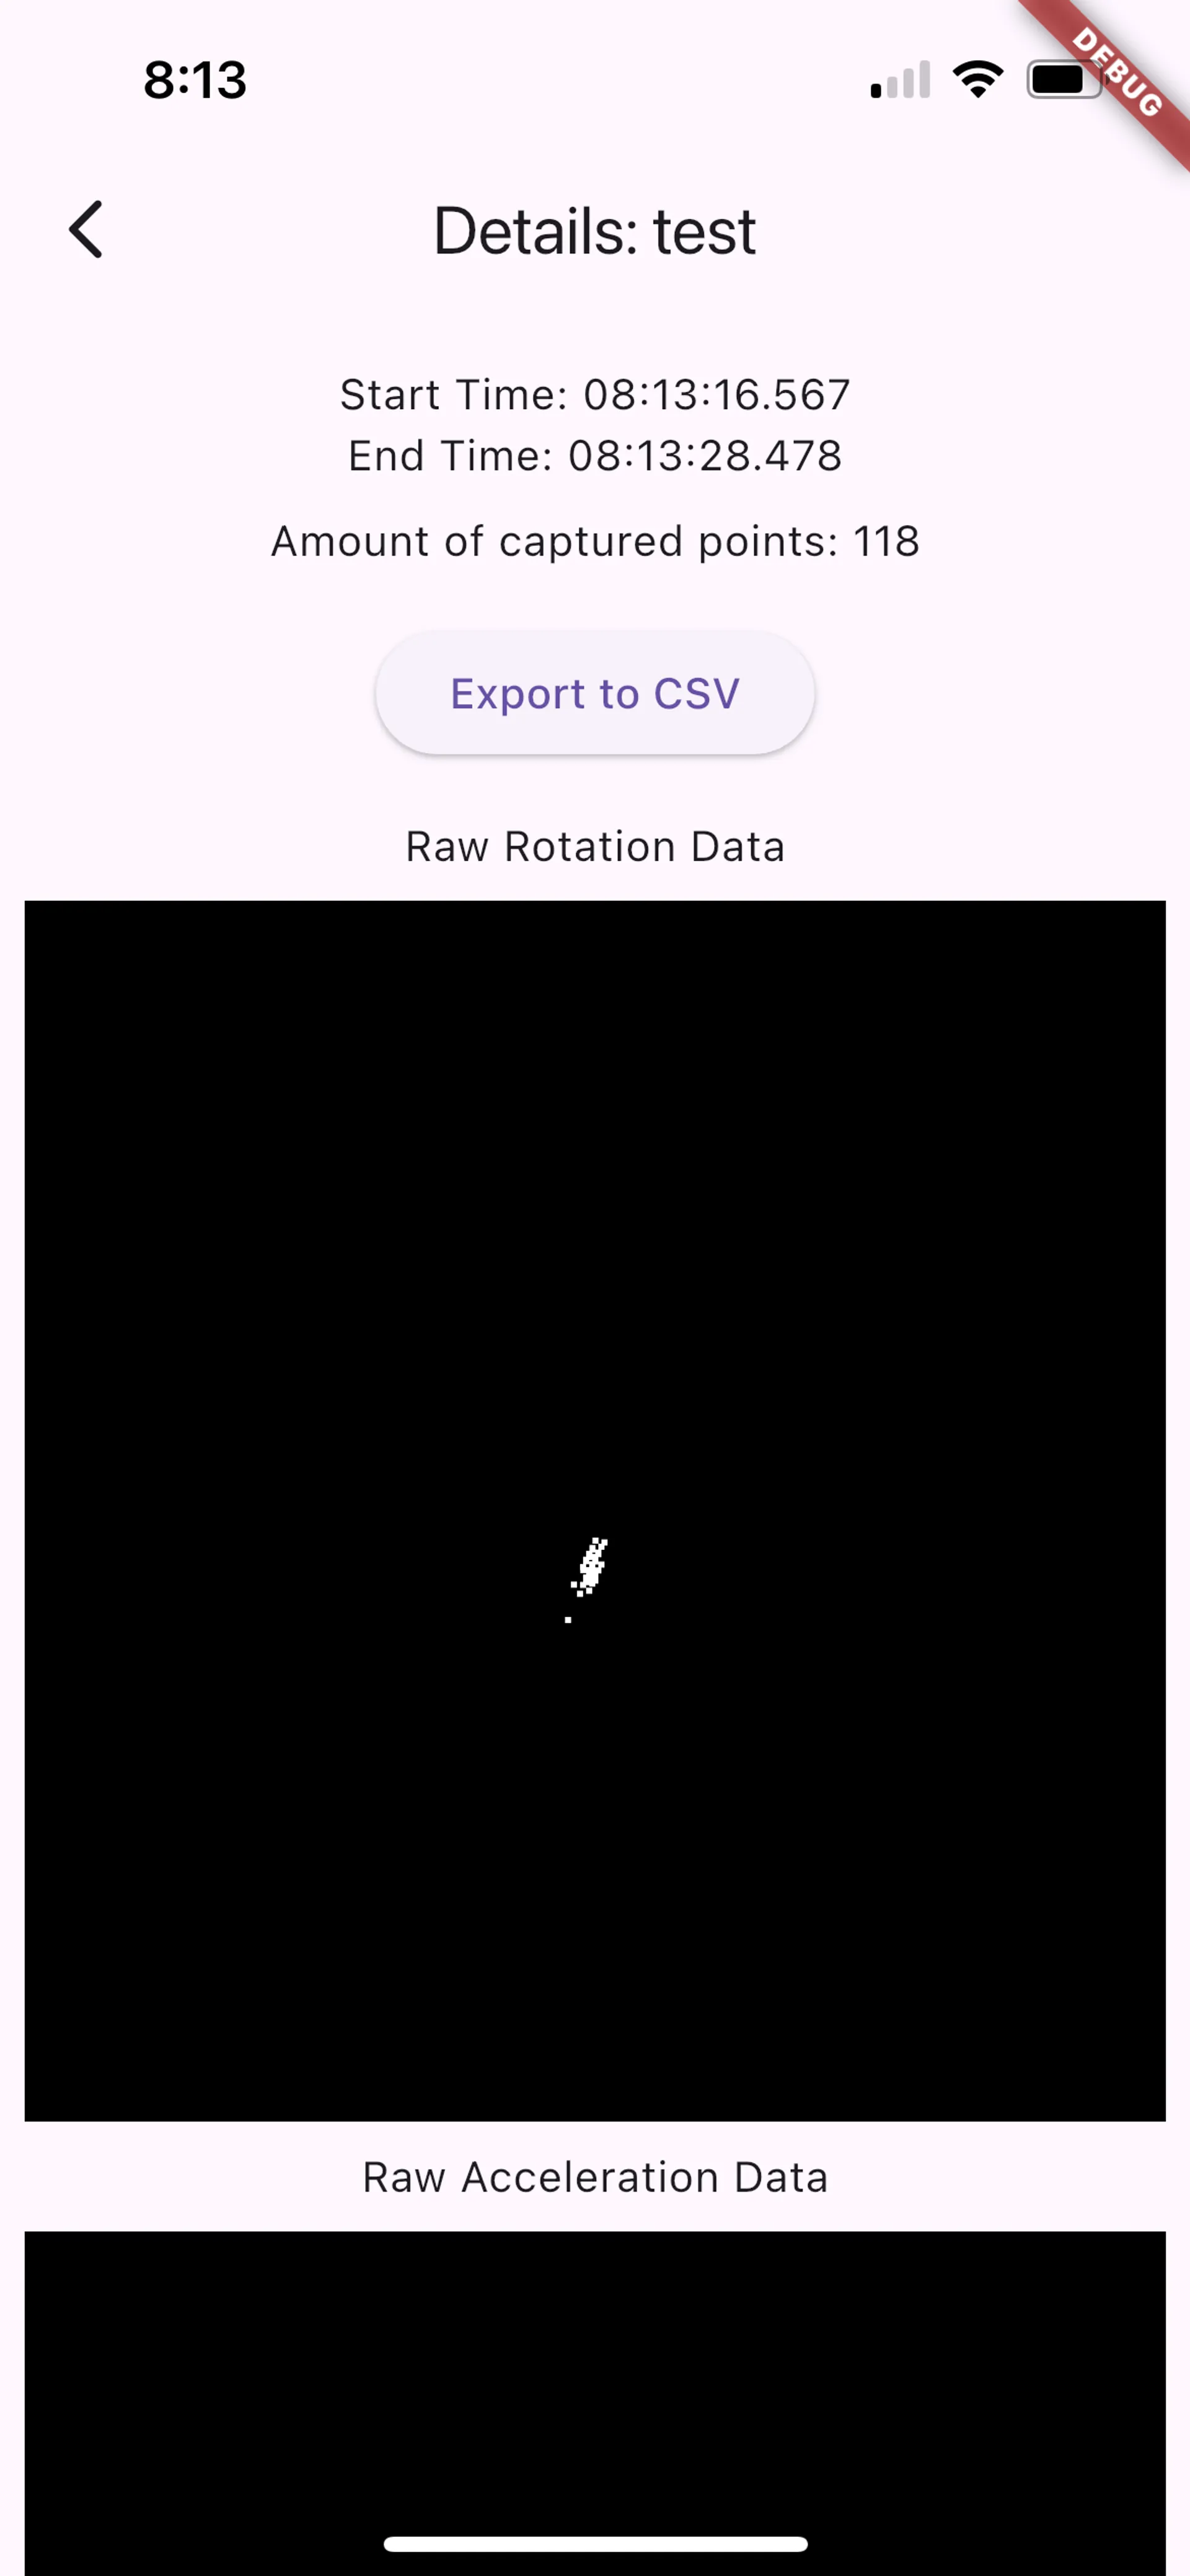
Tap on it to see the details of the recording and to access the
Exportfunctionality.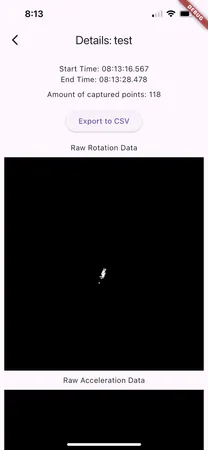
-
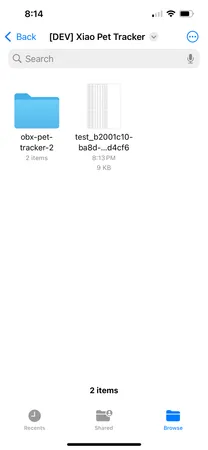
The exported files will be stored in the documents of your device. Here we used an iPhone and we can find the exported recording data as a CSV file in the app’s folder in Files.